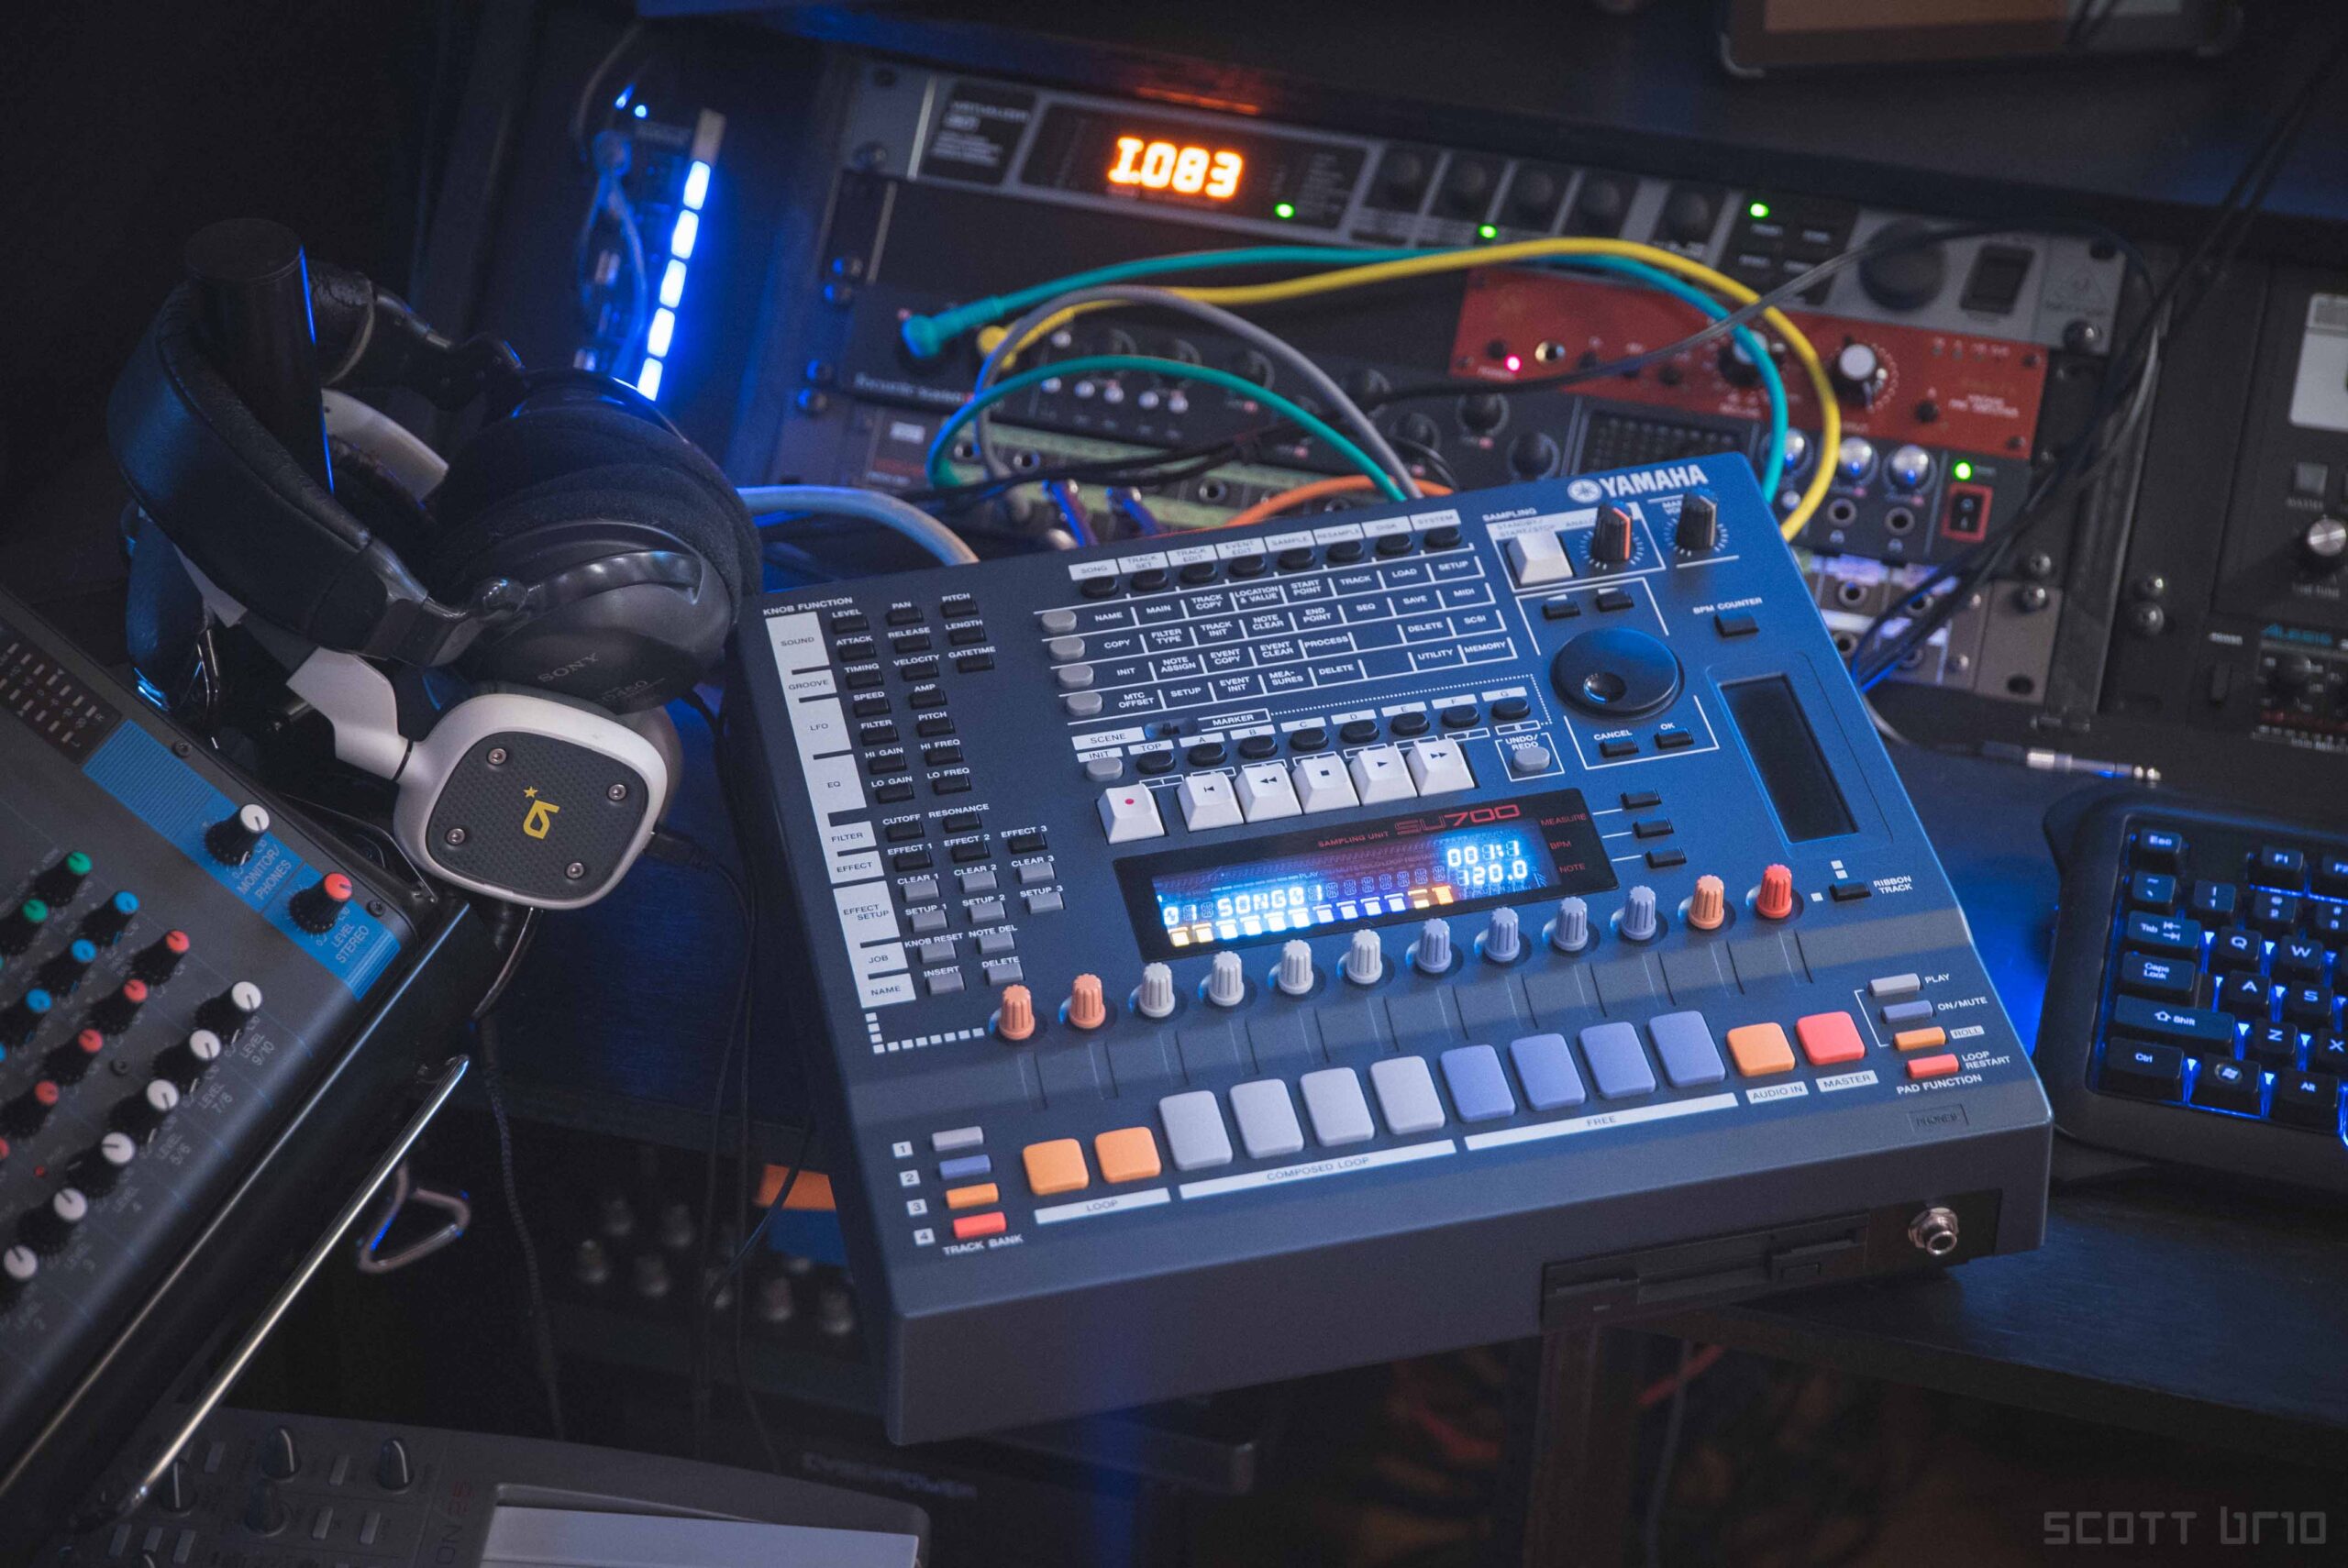
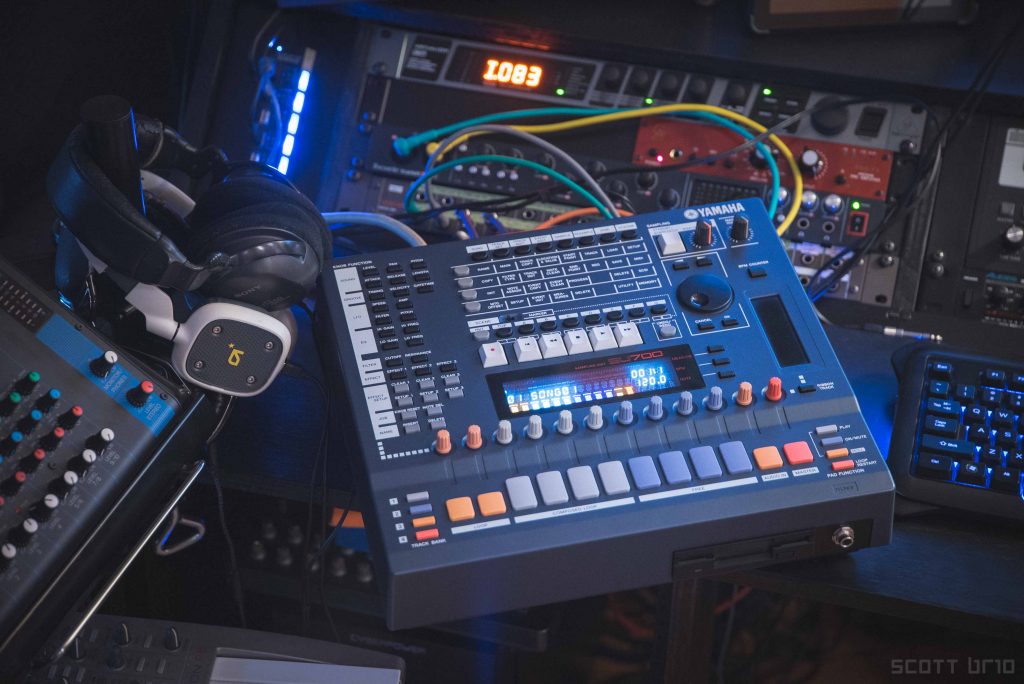
So I scored a Yamaha SU700 from an original owner who bought it in 1999 and had it kept in his garage covered, using it a handful of times between now (2016) and then. It’s pretty much mint condition, except for the encoders. If you’re not familiar with this unit, it’s one pitfall is the crappy encoders Yamaha decided to use. They’re so bad, I would imagine they started crapping out within the first year of release. When you turn them to make live adjustments, they jump all over the place- one minute you’ll be at 127, trying to go to 0 and you’ll jump from 85 to 45 to 70.
I found a blog post by Al (?) on albates.com which was a huge help. He breaks down why the encoders are so bad, and honestly he did the legwork as far as figuring out which new encoders to use. I ended up getting 13 (12 and one extra) from DigiKey. These are the encoders I ended up going with. They’re a 24 pulse per rotation encoder with three prongs. Basically the ones in the Yamaha are an old style that have 4 prongs, of which 3 are used. These new ones have 3 on one side which are used for sending the encoder info to the SU700, and 2 prongs on the other side which send the ‘push in’ info- those are currently unused.
On to the good stuff!
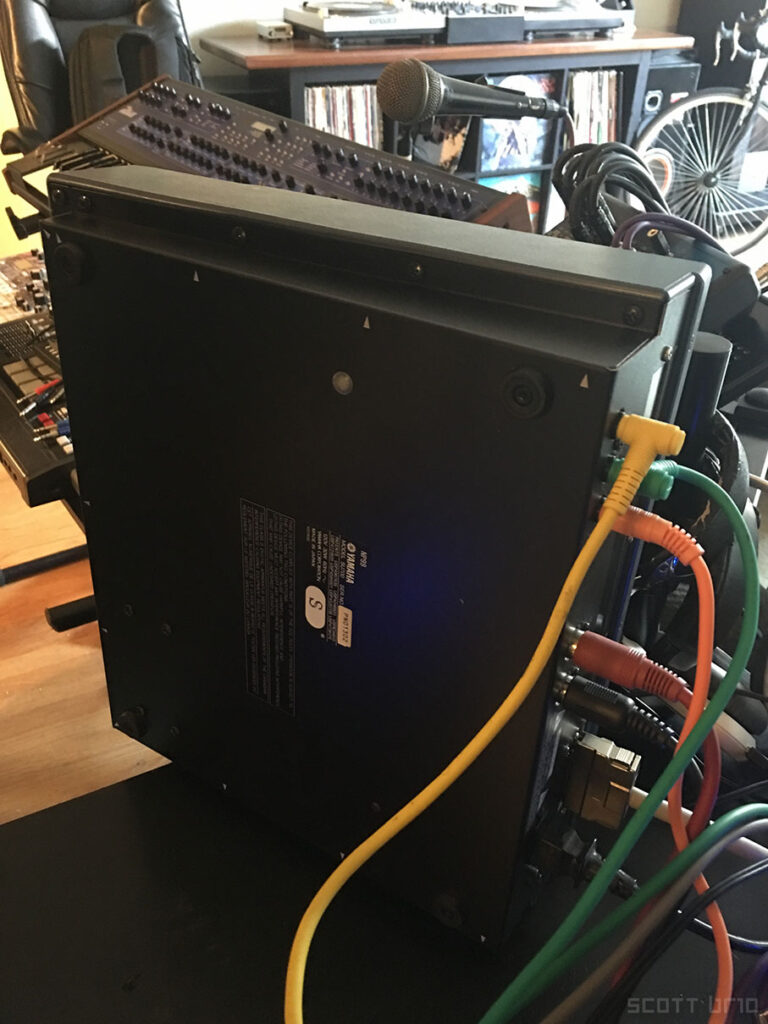
First, you want to unscrew the screws on the bottom of the unit. There’s a bunch of them, plus 3 on the back. Yamaha was helpful and included little white triangle arrows indicating what you need to undo to service the unit. Look for these on the PCB as well.
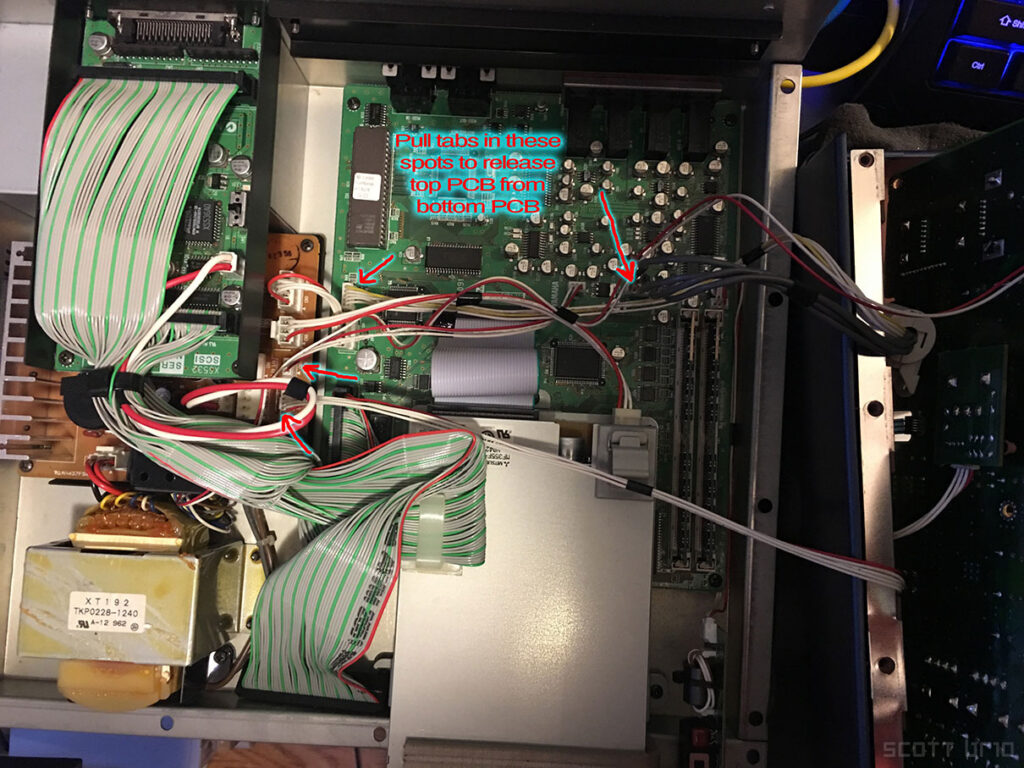
Once you’ve got all the screws off, be careful pulling the top off- there’s cables that attach the bottom PCB to the top PCB. We’ll be un-attaching some of the connections to make installation easier.
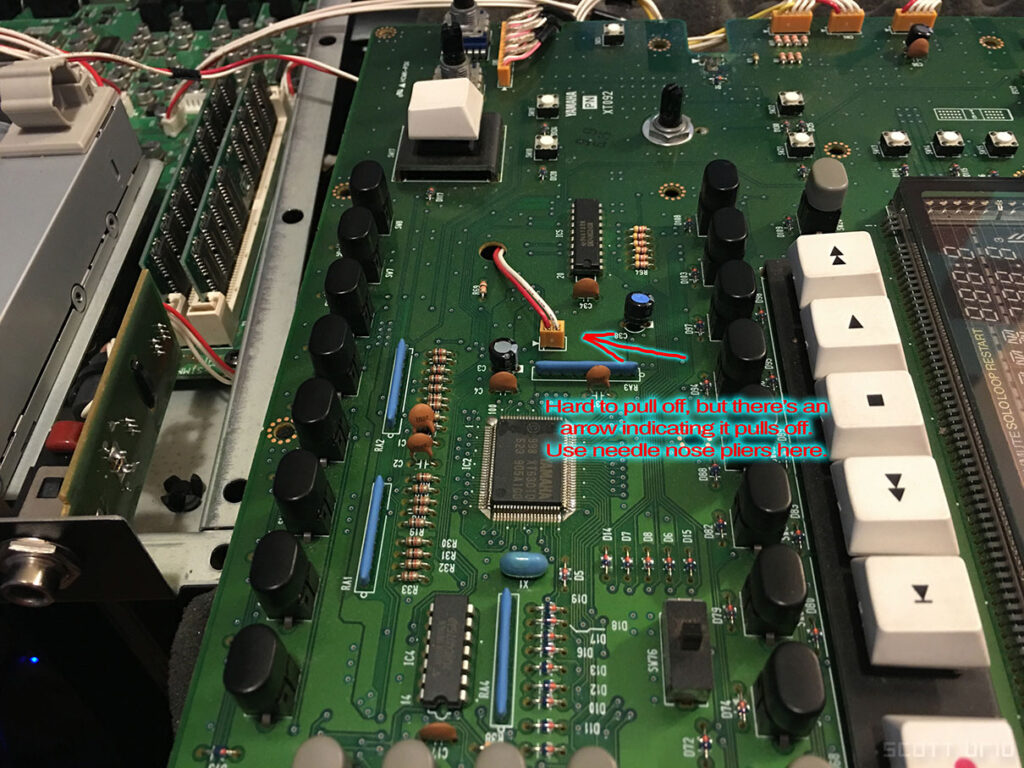
Find the 4 arrowed tabs on the bottom PCB and pull off with needle nose pliers. These are fairly easy to pull. Be firm but gentile, as you don’t want to break anything on a unit this old.
Now that those are off, you’ll notice one extra cable that attaches the two PCBs. It unclips from the top PCB. Mine was particularly stuck, so I just left it on, which wasn’t much of a hassle, but if you need the two PCBs fully removed, that’s the last one that connects them.
Looking at the back of the top PCB you’ll see where all the encoders attach. There are 4 soldered connections and two mounting tabs (also soldered). I’d suggest unsoldering all of them first so you can remove the encoders before installing the new ones. You’ll need a solder sucker for this (don’t skip out on this, it’s super important for a quality job). Heat each solder spot till it liquefies, hold the solder sucker close, then hit the button to suck the solder off the PCB.
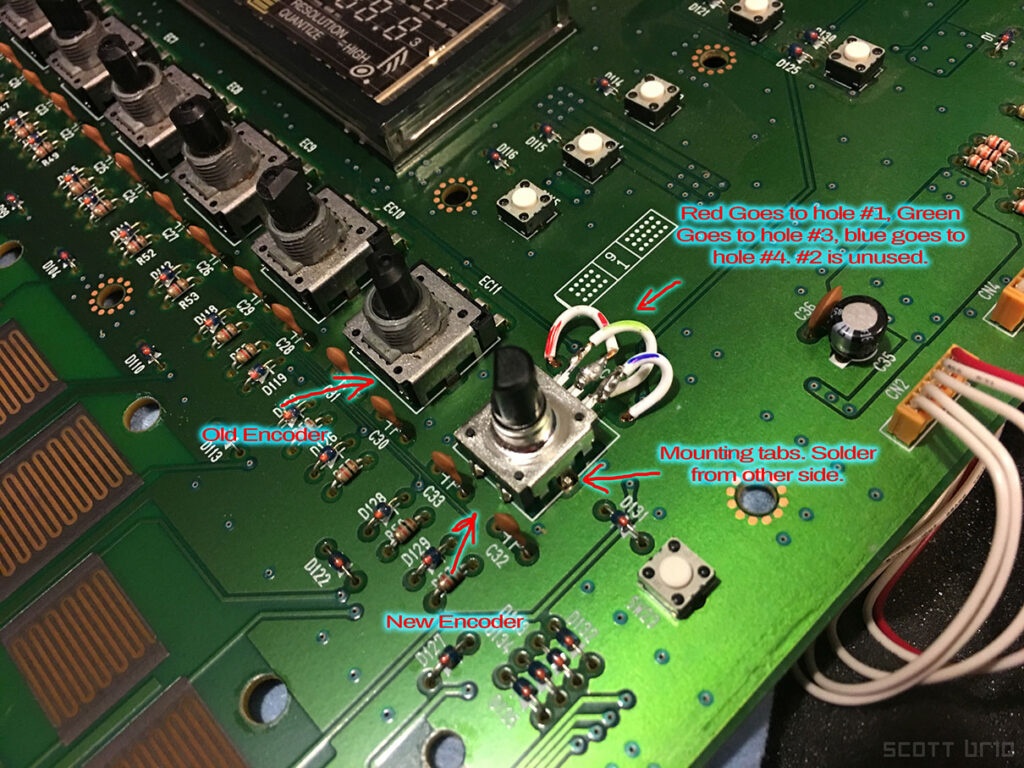
With all the encoders removed, you can start installing the new encoders. The pinout is as follows: The first pin (left most) goes to hole #3, pin two goes to hole #1, and pin three goes to hole #4. I suggest color coding your wires to make sure you don’t make any mistakes. The reason we’re using jumper cables here is because the new encoders have a different pinout, however the end result is exactly the same.
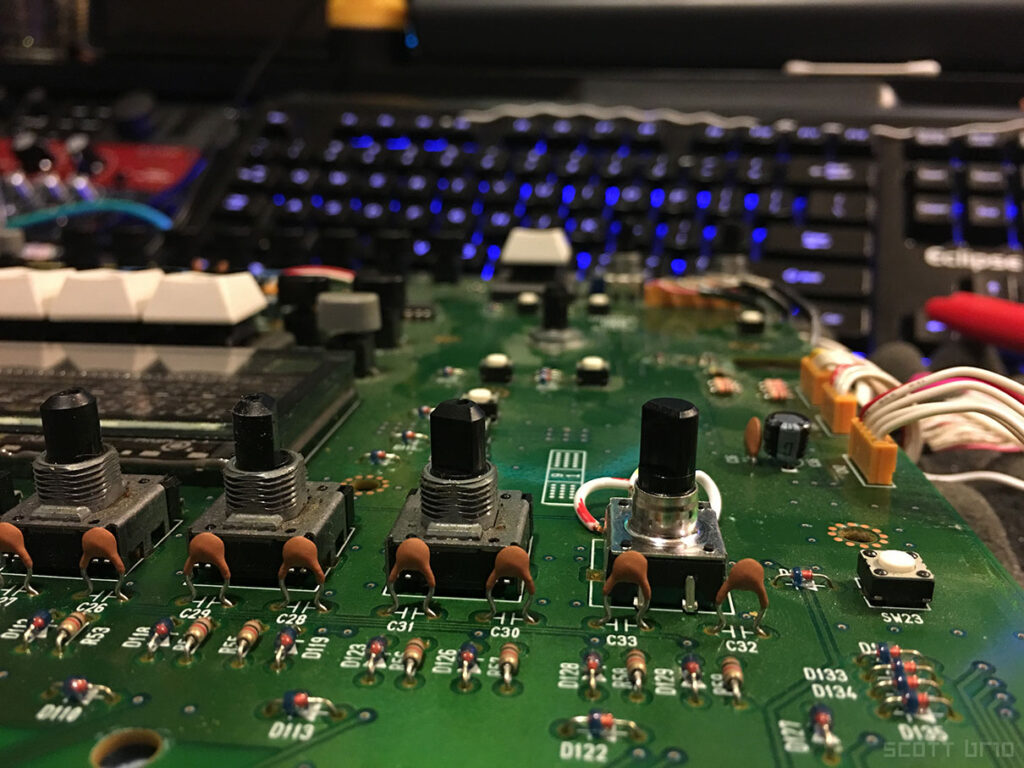
Notice the slight height difference between the new and old encoders. The new ones are likely a hair taller because of the ‘press’ feature they have. Once assembled it looks a bit taller, but not bad at all.
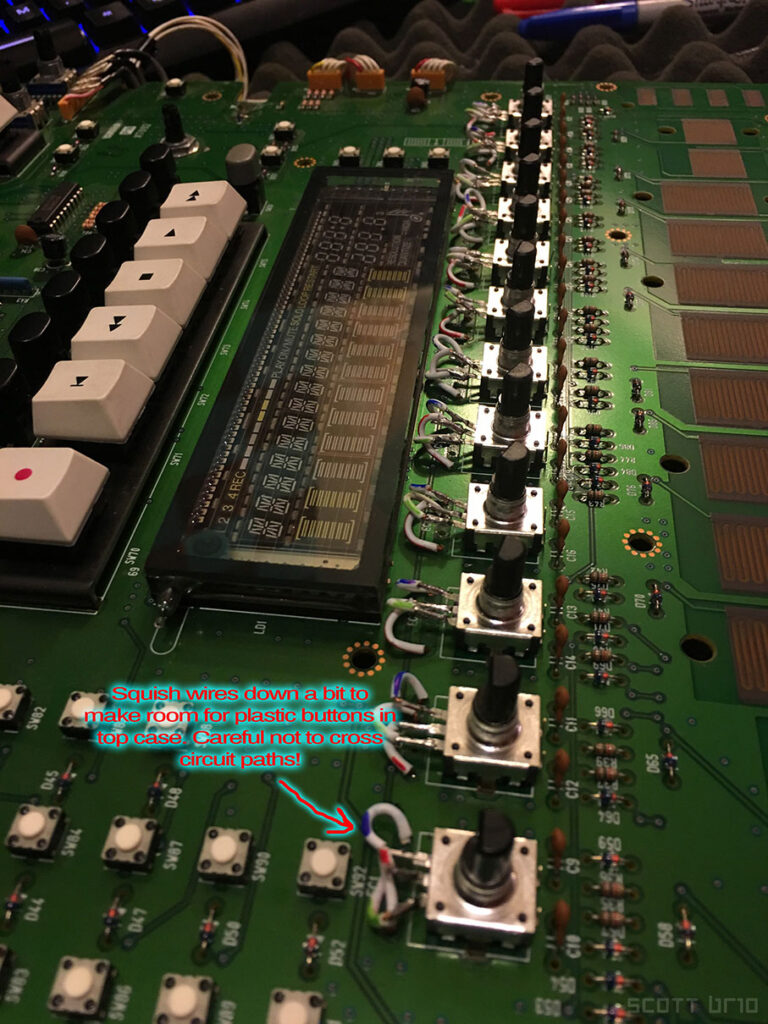
Whew! 12 encoders later… we’ve got a finished assembly. Honestly making the little jumper cables took the longest. I used some stripped out Mogami cable to ensure quality, but any shielded wire could be used really. Each jumper is roughly an inch long, including the stripped ends. For the last encoder, be sure to squish the wires out of the way so there’s clearance for the plastic ‘insert’ and ‘delete’ buttons. Be careful to not accidentally push wires together so that they touch!
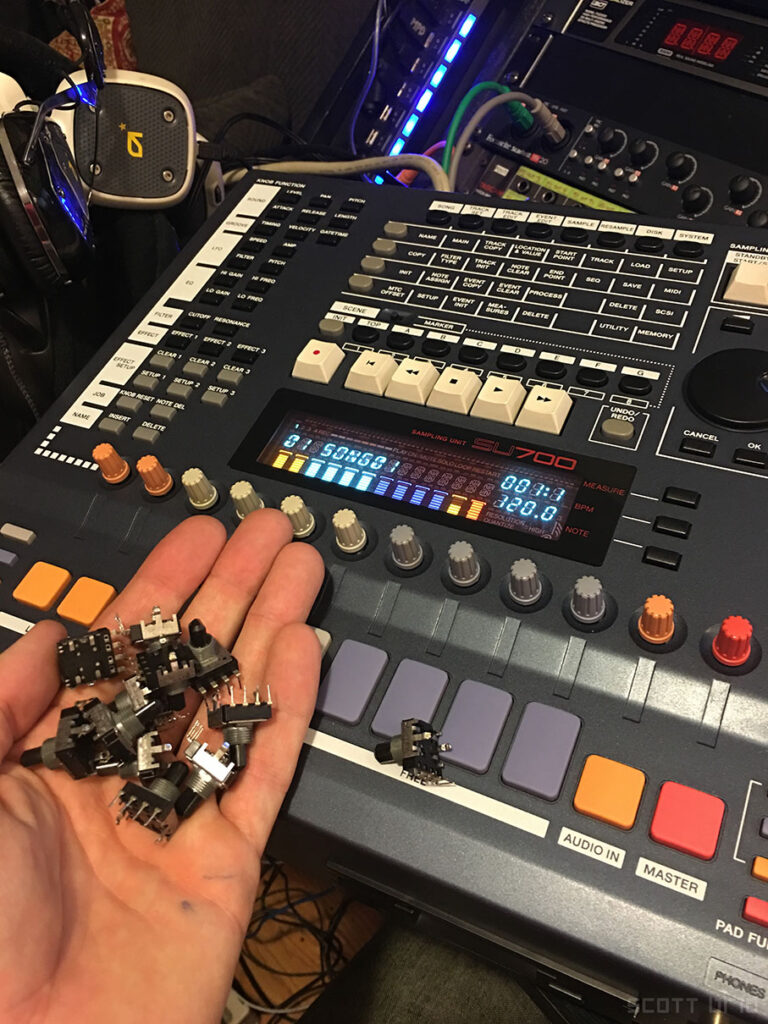
All done! Old encoders in hand. Chuck these things in the trash. If everything went well, the SU700 should boot up as usual. Cheers! 
Portfolio
So I scored a Yamaha SU700 from an original owner who bought it in 1999 and had it kept in his garage covered, using it a handful of times between now (2016) and then. It’s pretty much mint condition, except for the encoders. If you’re not familiar with this unit, it’s one ...
| Play | Cover | Release Label |
Track Title Track Authors |
|---|


Comments